POTION BOTTLES
What you will need:
Empty containers
Spray paint
Glue or Mod Podge
Tea dyed paper
Pen (for writing on the labels)
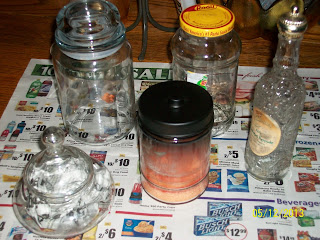
First, you'll need to gather an assortment of glass or plastic bottles/jars/containers. I used all glass because I prefer the feel and durability of it as opposed to plastic. A couple of these are jars I already had and a few are ones I found at a thrift store for $1 each.
Next, grab your trusty spray paint. This is the kind I used. It bonds to metal, wood, wicker, glass, plastic etc...almost everything. Plus, you only have to wait 1 minute between coats. It dries in 10 minutes and is ok to handle within an hour.
Set up your drop cloth or trash bag or old shower curtain...whatever you want. It's best to do your spray painting outside on a dry and hot day. I did several thin coats of paint. Make sure to cover every inch.
After I let these sit outside for about an hour or maybe two, can't exactly recall, I brought them inside and got ready to make the labels.
After tea dying the paper and letting it dry, I wrote out the labels and loosely cut them out. I burned the edges for the hod podge random look.
Attach the labels to the containers with your mod podge or glue and just let them dry.
That's all you have to do. Get creative with your potion names! Or, as I did mine, ingredients. Side note: I glued the lids down using hot glue. I didn't want mine to be able to open since they're empty.
Update: I made several more jars, including a couple apothecary jars. For the bases I used an old door knob for one and a candle holder for the other. Also, the large glass jar is just the way I bought it except I added a label to it saying "Poisoned Apples". That was a thrift store find for just $4.


No comments:
Post a Comment